Snorkeling and Diving for Beginners: A Safety-First Guide
With proper gear and technique, beginners can get comfortable fast. This guide covers breathing, equalization, and common mistakes.
TravelFeelings Editorial Team
Snorkeling looks effortless, but breathing underwater for the first time takes adjustment. I’ve worked with hundreds of beginners, and the pattern is always the same: they’re afraid of something that’s completely manageable. Water sports come down to a skill set. If you train properly, choose the right gear, and make calm decisions, you can experience a lot safely.
The Gear That Actually Matters
In practice, the issue boils down to three things: a fitting mask, a snorkel with a dry valve, and fins. None of it is complicated, but all of it matters.
The mask is everything. A poor-fitting mask leaks constantly, and that kills beginner confidence fast. How do you test fit? Press the mask to your face without the strap and inhale gently through your nose. It should stay put on suction alone. Try turning your head—if it falls, it’s wrong. You’ll recognize the feeling once you’ve tried a few.
A snorkel with a dry valve is the right choice for beginners. The valve closes automatically when a wave passes over it, preventing water from entering your tube. That psychological safety is crucial early on.
Fins aren’t mandatory, but they conserve energy and build confidence quickly. They make you swim more efficiently and help you fight currents. Buy a set that fits snugly but not tight—loose fins cause blisters, tight ones hurt your feet.
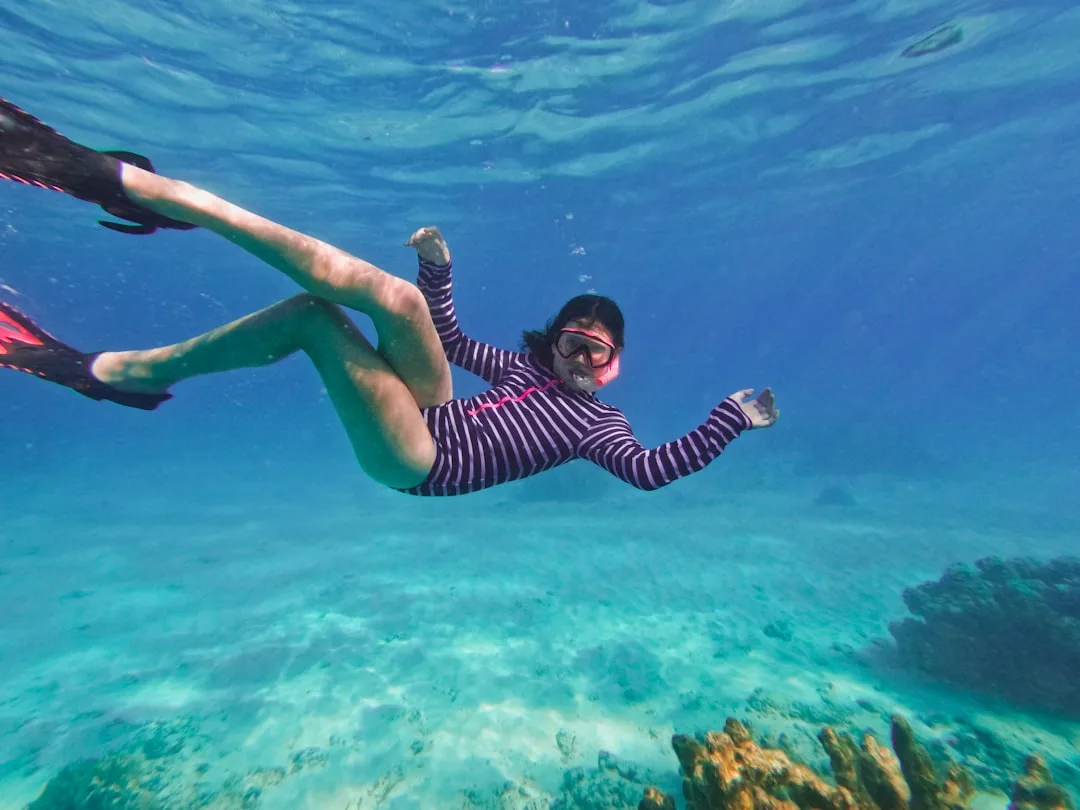
A UV-protective rash guard (Lycra shirt) shields your back and arms from sun without constant sunscreen reapplication. In cool water below 70°F, a thin 2mm neoprene shorty works well for warmth and protection against jellyfish contact. For a complete beginner kit, expect to spend $45–80. That’s an investment that pays back for years.
Learning to Snorkel: Five Practical Steps
Most beginners feel confident after 30–60 minutes of practice in waist-deep water. After two or three sessions, snorkeling becomes relaxed and natural.
Start in water where you can stand. You’re safe, you can stand up anytime something feels wrong. Fit the mask and make sure it seals properly. Put the snorkel in your mouth—relaxed, not clenched. It should sit horizontal, not angled upward.
Wet the inside of your mask with saliva and rub it in briefly. That prevents fogging. Submerge your face and breathe slowly through the snorkel. Critical point: breathe through your mouth, not your nose. Your nose stays inside the mask but does nothing except stay dry.
The most common mistake I see is that beginners tense up and forget to breathe—that’s classic panic. The right approach: find a steady rhythm. Inhale slowly (three to four seconds), pause briefly, exhale slowly (four to five seconds). Aim for calm, shallow breathing.
Now slip on your fins, preferably in the water to avoid falling. Swim on your belly with easy, relaxed fin strokes. Power comes from your legs, not your arms.
After five minutes, your body relaxes. You realize snorkeling is easier than you feared. Now you can go deeper and farther, always keeping sight of shore, never alone.
Pressure Equalization: Why It’s Critical and How to Do It Right
Equalization works only when you understand what’s happening. Underwater, pressure increases roughly one atmosphere per 33 feet. Your middle ear is an air-filled space that can’t handle that pressure without equalization. The most common mistake is waiting until it hurts.
The Valsalva maneuver is standard: hold your nose and press out gently, like you’re popping your ears. This forces air into your Eustachian tube. Key word: gently. Pressing hard damages delicate blood vessels and can cause barotrauma. In practice, equalizing early and often is better than waiting and then forcing it.
Start equalization every ten feet as you descend. Get a feel for when to equalize before pain appears. If your ears hurt, you’ve waited too long—surface, wait a few minutes, descend slower next time.
Many beginners descend head-first. That’s counterproductive. Your sinus membranes are more engorged when you’re inverted, making equalization harder. Better: let yourself sink feet-first, slowly, starting to equalize near the surface.
Never dive with a cold or stuffed sinuses. Air can’t reach your middle ear, and equalization becomes impossible.
Common Beginner Mistakes—And How to Avoid Them
Mistake one: descending too fast. Beginners spot something interesting and sink faster than they can equalize. Panic follows. Pace yourself: descend slowly, stop every ten feet, equalize, continue.
Mistake two: using force when equalizing. A hard Valsalva risks injury — gentle and frequent equalizing is the safer method.
Mistake three: cheap gear. A leaking mask, a snorkel without a dry valve, poorly fitting fins—these all sabotage early success. This is a bad place to save money.
Mistake four: diving solo. The buddy system is the safety standard, full stop. Every diver needs a partner who knows where you are and what you’re doing. If something goes wrong, your buddy is your first response.
Mistake five: touching reefs. Reefs are fragile, and beginners lose positional control easily. Stay neutral, keep your distance, and respect marine life.
PADI Open Water: Your Path to Certification
If you want to go deeper and stay longer, PADI Open Water certification is the next step. It has three components: online theory (at your own pace), pool training (one to two sessions), and four open-water dives with an instructor. Total time is three to five days.
Theory covers dive physics, decompression, how dive computers work, and emergency procedures. It’s not complicated, but it’s important. The pool is where you practice regulator handling, mask clearing, emergency skills in a safe environment.
The four open-water dives are the real thing: you dive with an instructor, gradually deepen, and build experience. Most newly certified divers report a major confidence boost—and many go on to dive regularly afterward.
The actual risk of diving is low: about 4.7 fatalities per million dives. That’s safer than many common recreational activities.
Water Safety: Your Compass
The buddy system is non-negotiable. You and a partner dive together, stay in sight of each other, and watch each other. If your buddy surfaces, you surface. If your buddy signals something, you listen.
Check water conditions before entering. What’s the visibility? Is there current? How cold is it? Your decision whether to dive or not is the single most critical choice you’ll make.
Know your own state. Are you rested? Hydrated (no alcohol)? Are you mentally sharp? Water sports require focus. If you’re distracted or tired, snorkeling isn’t a good call.
Saltwater dehydrates you. Drink water before you go in and after you come out. Sounds basic, but many beginners overlook it.
Respect marine life. Don’t touch jellyfish, don’t break coral, don’t chase fish. You’re a visitor. Most marine creatures won’t hurt you if you leave them alone.
Your First Sessions and What Comes Next
After your first snorkel session, you’ll understand why people love this. It’s real and genuinely fascinating.
Start small. A shallow bay with calm conditions and good visibility is perfect for your first dives. The Caribbean, Red Sea, Mediterranean—all have excellent beginner spots. After 5–10 sessions, you’ll feel more confident. After 20–30 sessions, you’ll be in your element.
If snorkeling clicks for you, take the PADI Open Water course. It opens deeper worlds. If you prefer staying shallow, snorkeling is a lifetime hobby.
The first rule is simple: respect the water, use proper gear, start slow, keep your buddy nearby. That’s how you begin correctly.