Plan Multi-Day Hikes: Training and Stage Length
Multi-day hikes require structured planning and physical preparation. This guide covers realistic stage planning, training methods, and accommodation choices.
TravelFeelings Editorial Team
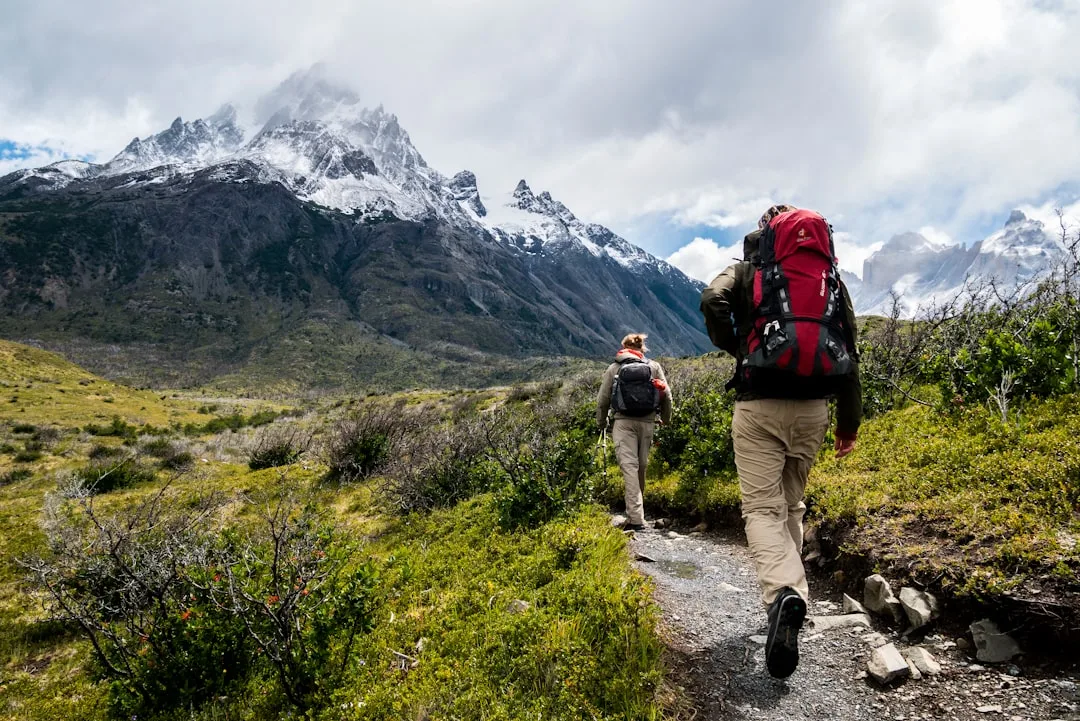
A multi-day hike demands logistical planning, physical preparation, equipment knowledge, and honest self-assessment. Understanding the basics saves frustration, reduces injury risk, and delivers genuine satisfaction in the mountains.
Realistic Stage Planning
The problem is concrete: many beginners overestimate how far they can walk daily. They see a route totaling 60 kilometers, divide by four days, and assume it works. In practice, it doesn’t.
Daily distance depends on several interdependent factors. Fitness matters, though other factors weigh more heavily. A 30-year-old with little outdoor experience won’t cover the same ground as someone who trained consistently and practiced hiking with a loaded pack beforehand.
Backpack weight is the limiting factor. Every additional kilogram on your back costs time and energy, and the cost climbs faster than linearly. With a 10-kilogram pack, your realistic daily performance drops roughly 20 percent. At 16 kilograms, it drops about 35 percent. You feel this immediately in the field.
Elevation gain outweighs flat kilometers by a factor of two to four. One thousand meters climbed over 20 flat kilometers costs as much energy as 60 kilometers of flatland. Your body fights gravity with every meter gained. That adds up.
Trail condition matters more than most realize. A well-maintained alpine path with good drainage allows faster pace than technical scrambles or boggy plateau terrain. Scree fields double your time estimates.
For practical planning, I use these benchmarks:
- Beginners without multi-day experience: 12–15 km daily unloaded, 8–12 km with a pack
- Average fitness with up to 1,000 meters elevation: 15–20 km daily is feasible
- Good conditioning and altitude experience: 20–25 km plus 1,500 meters elevation
- Experienced alpinists: 25+ km, technical sections manageable
Treat these as upper limits, and plan a buffer below them. Plan each stage so you arrive with energy left for camp setup, cooking, and rest. Arriving exhausted means poor sleep, careless cooking, and higher injury risk the next morning.
Physical Preparation: A Structured Training Framework
Improvisation doesn’t work. Your body needs time. Ideally, start 3–6 months before your planned tour. With solid baseline fitness, 8–12 weeks suffices.
Structure training into three phases:
Phase 1: Building Foundations (Weeks 1–6, if 12 weeks available)
The goal is muscle development and cardiovascular adaptation. It’s unglamorous but essential.
- Strength training 2–3 times weekly: squats, lunges, step-ups, calf raises. Real movements under load, not machines.
- Cardio 2–3 times weekly: stair climbing, easy hikes (up to 10 km), or cycling.
- One rest day per week is not optional.
Important: train in the gear you’ll actually use. New hiking boots don’t break in at the gym; they break in on trails.
Phase 2: Progressive Load (Weeks 7–10)
Now increase volume and add weight.
- Strength training twice weekly, but with higher reps (12–20 per set) for endurance, not raw strength.
- Cardio three times weekly, including at least one long hike of 15–20 km.
- Train with a loaded pack. Start at 8 kilograms and progress to 12–14 kg. It’s unpleasant but unavoidable.
- Uphill training hikes or runs once weekly.
Phase 3: Tour-Specific Preparation (Weeks 11–12 before the tour)
Simulate the actual tour experience.
- At least one weekend trip with full gear (tent, sleeping bag, complete cooking kit). This immediately shows your true limits.
- Multi-hour hikes with full load at least twice weekly.
- Strength training can drop to once weekly.
This is where many fail: intensive training, but never carrying complete equipment. Then, one week before the tour, you pack 16 kg and wonder why your legs respond differently than during 12-kg training runs.
Accommodation Choice and Its Logistics
Your accommodation type determines your entire setup. This isn’t a trivial decision.
Hut-to-hut tours are the best entry point. You sleep warm (or at least off the ground), carry lighter loads (6–10 kg suffice), and keep your itinerary flexible. You can shorten a stage or build in a rest day if your body demands it. The downsides: huts fill up, reservations require advance booking, and they cost real money.
In practice, this means booking 2–3 months ahead in spring, 3–4 months in summer. Popular Alpine routes (Säntis to Säckingen, Chamonix to Zermatt) are packed July and August. Shifting to September–October often makes sense.
Camping tours demand more experience. You carry a tent, sleeping bag, and insulation pad (an extra 5–7 kg), sleep on the ground (significantly colder), and need solid knowledge of site selection, drainage, and weather protection. Beginners sleep poorly in tents, wake stiff, and enjoy the tour less as a result.
Rule of thumb: do at least 3–4 hut tours before attempting tent camping.
Wild camping at unofficial sites is illegal or restricted in many countries. Switzerland and parts of Austria are restrictive; Scandinavia and parts of Germany are more relaxed. Check beforehand — a wild-camping fine runs $110–330 (approx. €100–300).
Practical Backpack Calculations
Your pack is your portable home. Its weight determines whether the tour is enjoyable or an ordeal.
For a hut-to-hut tour lasting four to five days, the pack should not exceed 12 kilograms. That means:
- Sleeping bag and insulation pad: 1.5–2 kg (compressed)
- Clothing for 4 days: 2–2.5 kg
- Toiletries and hygiene: 0.5 kg
- Navigation, first aid, emergency: 0.5 kg
- One day’s food (resupply at huts): 1 kg
- Pack itself: 1.5–2 kg
That’s a 40–45-liter pack, nothing more. No excess.
For a camping tour, add:
- Tent: 2–3 kg
- Cooking gear: 0.5–1 kg
- Multiple days’ food: 2–3 kg
This totals 14–18 kg, typically 16 kg for realistic camping tours. That’s a fundamentally different load — your body will feel it.
Overpacking follows the same logic: many beginners overpack. Usually because they don’t know their actual limits yet. You don’t know your actual limits, so you pack for all scenarios. The first uphill with an overladen pack teaches the hard way — your body signals reality immediately.
Aim to stay under 10 kg on your first hut tours. Then you won’t be utterly exhausted after each stage and can actually appreciate the landscape.
Navigation and Route Safety
Digital tools help, but they’re insufficient. On multi-day tours, have these aids:
- Paper map (1:25,000 or 1:50,000): a backup for when digital tools fail. It works without battery or signal.
- GPS device or smartphone with offline maps: Komoot, Maps.me, or AllTrails work reliably.
- Compass: a simple baseplate compass weighs 50 grams. Nothing more needed.
Important: test your navigation setup before the tour. Download all maps offline. Battery drain in the field is massive, and a dead phone happens faster than you’d expect.
On unmarked terrain, you need experience reading contour lines. It just takes practice. Do training hikes on unmarked ground before committing to a multi-day trip.
Sleep, Recovery, and Acclimatization
Multi-day hikes are stressors on your body — positive stress, but stress nonetheless. Sleep determines next-day performance more than anything else.
In a tent or crowded hut, you sleep differently than at home. That’s normal. Three strategies help:
-
Sleeping bag quality. A 600-down or 800-down bag (depending on conditions) is safety equipment. You need enough warmth to maintain core temperature, and losing one degree cuts cognitive function by roughly 20 percent — that’s when poor decisions creep in.
-
Insulation pad. A thick pad (R-value at least 3) is essential, because the ground steals heat relentlessly. A thin pad leaves you progressively colder through the night, and you wake stiff.
-
Evening routine. A warm meal, warm tea, and dry clothes in your sleeping bag, with no screens before sleep. It sounds simple, but it makes the difference.
When to Turn Back and Other Limits
Certain scenarios demand that you halt the tour, and stopping early is the smart call.
- Severe muscle cramps: in calves, thighs, or back — overload signal. Take at least one rest day or shorten the tour.
- Blisters on feet: don’t ignore them, because they only get worse. A blister hints at poor-fitting shoes or wrong packing. Stop, treat it, reconsider your setup.
- Headache and nausea at altitude: this is Acute Mountain Sickness (AMS). Rare below 3,000 meters, but possible. Descend and acclimatize.
- Pain that doesn’t resolve with stretching or ice: don’t ignore it. A strain worsens under load.
None of this is dramatic. Abandoning a tour takes courage — and it’s often the smartest move you’ll make that day.
Practical Checklist for Your First Multi-Day Hike
- 3 months ahead: create training plan, test gear, make accommodation reservations.
- 2 months ahead: do multi-hour hikes with loaded pack, break in boots, finalize pack weight.
- 1 month ahead: do at least one 2-day test tour (even if your main route is longer). This shows how your body responds.
- 1 week ahead: download maps, double-check all reservations, collect emergency numbers, monitor weather (but don’t obsess).
That’s the minimum worth doing.
A well-planned multi-day hike is one of the most sustainable adventures available. It runs on your own strength and legs, carried in a pack. The feedback from your body and the landscape is direct and honest, and each day reveals your actual limit. Over time that builds a grounded, realistic sense of what you can handle.