Landscape Photography Without Expensive Gear
Master outdoor photography on the trail without expensive gear. Learn composition, settings, and timing — your smartphone might be all you need.
TravelFeelings Editorial Team
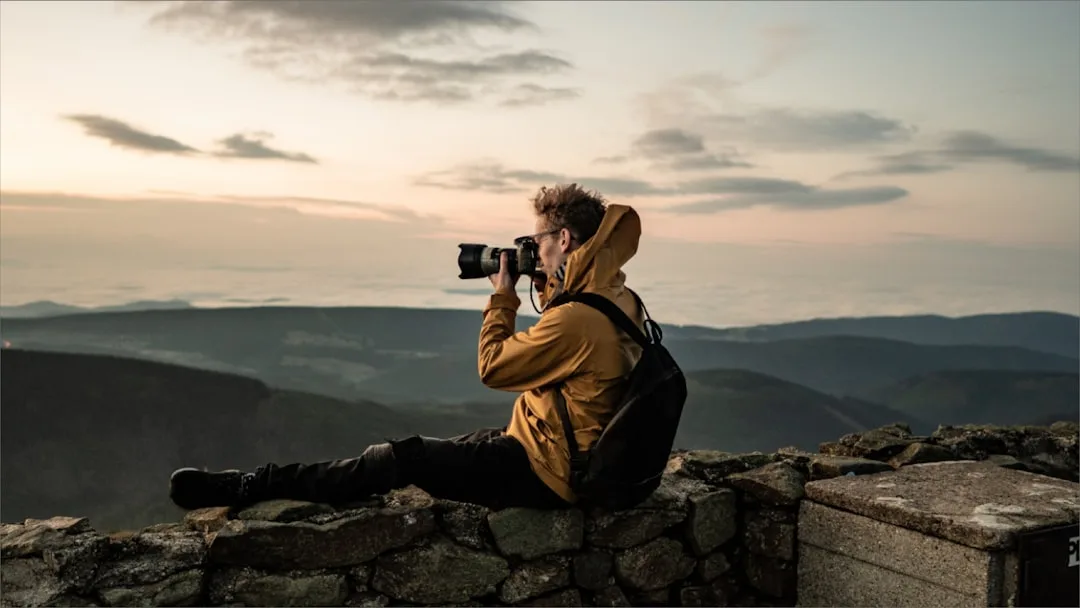
Great hiking photos don’t come from expensive gear. They come from understanding light, composition, and timing. A smartphone with knowledge beats a DSLR in the hands of someone who doesn’t understand what they’re doing. This guide shows you how to take sharp, well-composed landscape photos on the trail without getting lost in gear debates.
Subject Beats Equipment
The biggest beginner mistake is optimism about equipment: buy expensive gear, then realize photos still look flat. The truth is simple — the best subject and proper light account for 80 percent of success. The camera accounts for 20 percent.
Your smartphone already takes good photos. For landscape photography, you don’t need the biggest sensor or the fastest lens. Do you need depth-of-field control, manual settings, and a wide-angle lens? Yes. Do you need to spend 2,000 USD (approx. 1,880 EUR) to get them? No.
Many ambitious hikers photograph the wrong things. They don’t search for the best viewpoint — they search for the next Instagram spot. That changes once you understand what makes a landscape graphically interesting.
The Golden Hour: The Most Important Tool
Landscape photography lives and dies by light. The best light doesn’t arrive at noon when the sun is overhead and casts harsh shadows. It arrives one hour after sunrise and one hour before sunset.
During this “golden hour,” light is warm, diffuse, and flattering. It models forms without destroying them. Colors intensify. Contrast becomes manageable. That’s exactly what landscape photographers want.
In practice: start hiking early to catch that first hour of light. Trails are empty at 7 a.m., the light is perfect, and you’re descending by warm afternoon light. Starting early beats expensive gear every time.
For precise planning, use apps like The Photographer’s Ephemeris or TimeandDate. You’ll see exactly where the sun rises, how moonlight falls, and when the best light hits — for your specific trail, not a generic location.
Composition: The Rule of Thirds and Leading Lines
A sharp photo with boring composition is still a boring photo. The rule of thirds is a practical tool you can apply in seconds. Divide your frame mentally into nine equal squares (3×3 grid). Place interesting elements on the lines or intersections, not dead center.
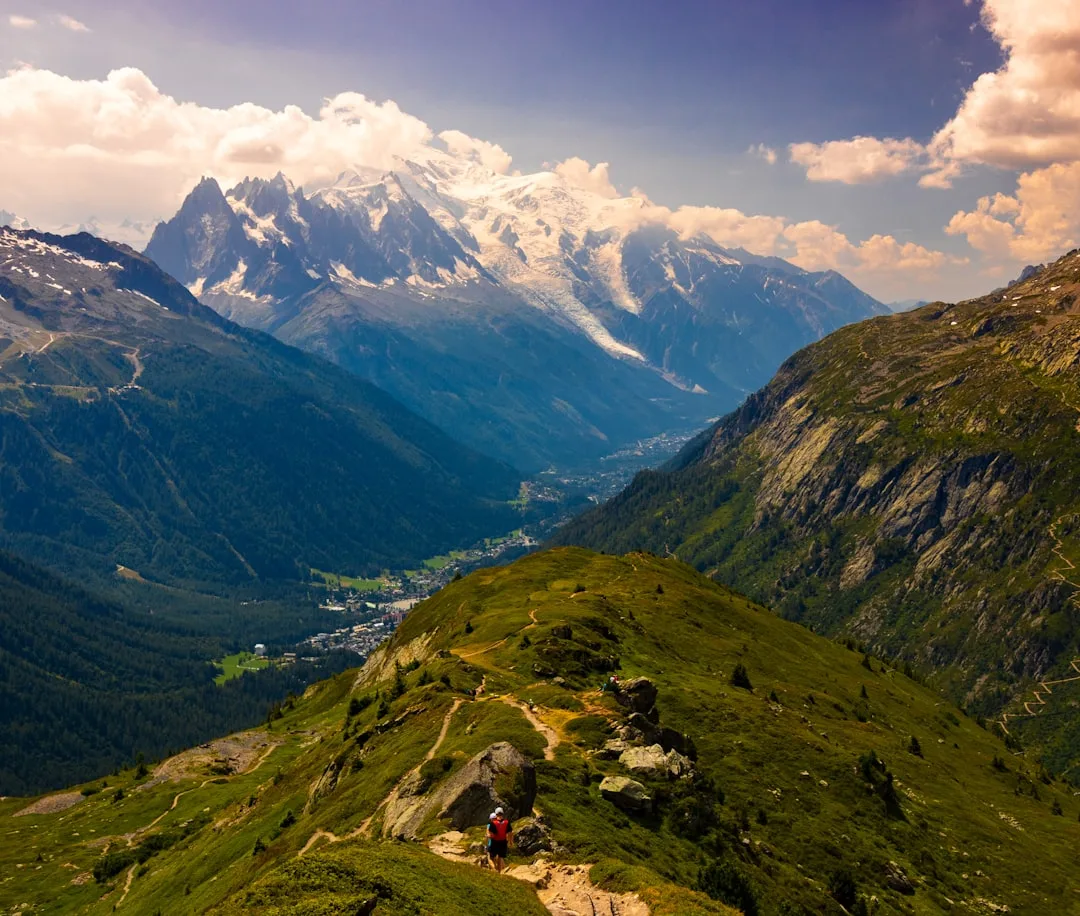
Example: a mountain lake with peaks behind. Instead of putting the horizon in the middle (almost always wrong), place it on the lower third line. The lake fills the lower third, the mountains fill the upper two-thirds. That feels balanced immediately.
Leading lines are natural paths that pull the viewer’s eye through the frame. A hiking trail, a river, a row of rocks — anything draws the eye into depth. This creates tension and dimension. When scouting locations, watch consciously for these elements.
Another trick: use foreground interest. An interesting boulder, wildflower, or tree in the foreground pulls the viewer in and creates depth layers. Landscapes without strong foreground elements feel flat.
Camera Settings for Sharp Landscapes
If you have a dedicated camera — DSLR, mirrorless, or compact — certain settings consistently work for landscapes.
Aperture: Set f/8 to f/11. Technically that sounds specific, but practically it means: enough of the scene stays sharp from front to back. f/5.6 works too, but f/2.8 or f/1.8 (fast lenses) don’t — those create portrait-style backgrounds, not landscape sharpness.
ISO: Set ISO 100 when the sun is bright. During sunrise or sunset (when light quality is good but quantity is low), bump to ISO 400 or 800. ISO is sensitivity amplification — higher values mean more noise. For prints you can live with it; for small prints you won’t notice it.
Shutter speed: This depends on light and aperture. On a tripod, shutter speed can be 1 second, 10 seconds, or longer. Handheld? The rule is: shutter speed ≥ 1 / focal length. At 50mm, use at least 1/50 second.
Focus: Focus about one-third into the scene — not on foreground, not on distant peaks. This optimizes depth-of-field distribution.
File format: Shoot RAW, not JPEG. RAW preserves more information and gives massive flexibility in post-processing. This matters especially in complicated lighting.
Lenses and Gear: Minimalism Works
Many hikers pack two or three lenses. That’s overkill. One good wide-angle all-purpose lens (16–35mm or 24–70mm) covers 95 percent of hiking photography. Anything wider than 16mm is specialized, anything over 200mm you rarely need on the trail.
The f/4 all-purpose zoom is the perfect compromise: not the fastest, but light, robust, and versatile. Perfect for beginners.
A tripod isn’t optional — it’s essential. A lightweight travel tripod (2–4 lbs) fits in your pack and enables long exposures, self-timer shots, and stable video. Without one, your options shrink.
Filters are your second tool. A polarizing filter reduces reflections on water and intensifies skies — huge effect for small money ($25–60 / approx. 23–55 EUR). A neutral density filter (ND) enables longer shutter speeds even in bright sun, creating creative effects like flowing water or moving clouds.
For smartphone users, a variable ND filter adds professional control — you can manage shutter speed on your phone and achieve cinematic effects.
Understanding Light: Managing High Contrast
One frequent challenge hiking is contrast: bright sky, dark forest foreground. Getting both sharp and properly exposed at once is difficult.
The solution is exposure bracketing: take multiple shots at different exposures. One for sky, one for shadows, one for midtones. In post-processing or tools like Photoshop, blend the best of each. Beginners don’t need this — but it’s powerful.
Another solution: recognize that not every scene works at the same time. A mountain valley in morning light is dramatic. The same valley at noon is flat and muddy. Choose the right time, not better equipment.
Small Details: Where the Best Shots Hide
The best hiking photos rarely come from grand panoramas. They come from details. A shaft of light through forest canopy, dew on a spider web, texture of stone, an ancient tree root.
You don’t hunt for these — you notice them when you’re present. Raise the camera, capture the moment. You don’t need a macro lens. Your smartphone handles macro. A normal focal length works too if you move close.
The key is attention. Hike slowly, don’t rush to the next viewpoint. Look. Observe. Shoot.
The Smartphone: Underrated Power
Many serious hikers dismiss the smartphone because “real photography” requires dedicated cameras. That’s nonsense. Modern phones have impressive sensors, multiple lenses (wide, tele, macro), automatic HDR processing, simulated depth-of-field, and RAW capability through apps like Lightroom Mobile or Halide.
The smartphone is a legitimate travel camera. Most limitations are mental, not technical. Many users tap the shutter without composing, without noticing light, without thinking.
With intention and planning, you make smartphone photos as strong as those from a 2,000 USD camera.
Workflow: Processing and Sharing
The shot is half the work. Landscape photography lives in post-processing. RAW files look flat out-of-camera. They need contrast, saturation adjustments, maybe color correction.
Apps like Lightroom Mobile or Snapseed work well on phones. Free desktop tools like Darktable are capable too. Learn the basics: exposure, contrast, clarity, saturation. This is craft, not art school.
For sharing: square Instagram crops squeeze panoramas. Don’t force every image into one format. Sometimes portrait or ultra-wide is the right choice.
The Best Camera Is the One You Carry
Smartphone, compact, or DSLR — presence beats perfection. The best hiking photographers move slowly, pay attention, and recognize the moment when it arrives.
Invest energy in understanding light and composition rather than the next lens. Your photos will improve, your pack stays light.